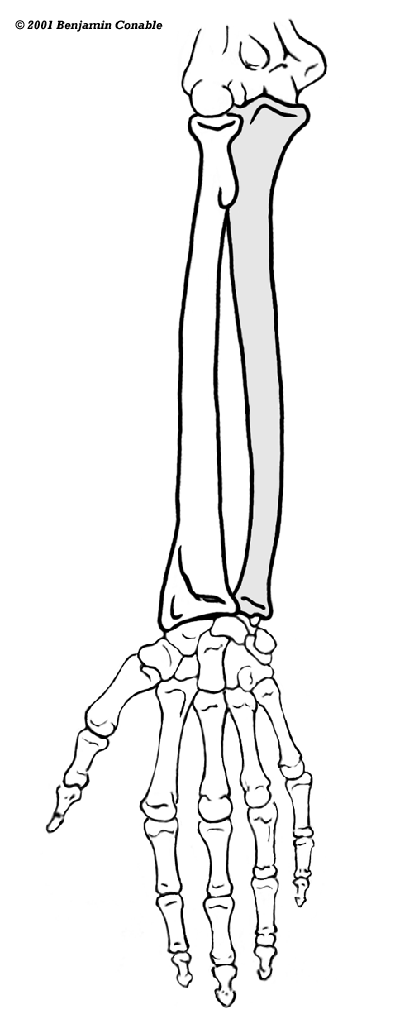
The first joint of the thumb is at the wrist rather than at the end of a metacarpal like the fingers are. This means chronic tightening of the wrist will cause the thumb to lose mobility in relation to the other fingers and the thumb will not lie easily in the palm as it could. Freeing your wrist will free your thumb.

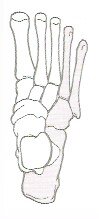
Fold your hand in half touching your thumb to the little finger. Look at the crease is makes and how it runs right up the middle of your palm. The main thumb joint splits the hand in half. Often people have their thumb mapped as though it is on the side of the hand, which the bulk of it is, visually. Open and close the thumb, feeling the main joint located near the center of the hand.
As you refine your thumb map, does it feel longer? Can you sense more of it? Next we’ll coax more mobility out of the fingers and the rest of the hand through mapping.